How to paste a wallpaper. A DIY step by step guide.
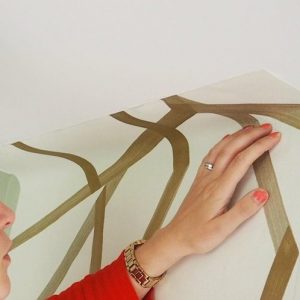
You have just bought a wallpaper and pasting glue from us then what next? Probably it might be as easy for you if this has been occasionally but it can be a daring venture if it might your first time or rather one of the first time. Worry no more as we have outlined for you a step by step guide into this subject matter well-articulated giving you detailed instructions that will save your resources in getting an extra hand, or you can as well contact us and watch and learn alongside following with this. In this article, we are going to give you tips and tricks into pasting a wallpaper like a pro ensuring you utilize all the must-have tools and achieve a complete space covered up with your wallpaper smoothly and avoiding errors that might occur in the process. Let’s start you off.
Tools for the job
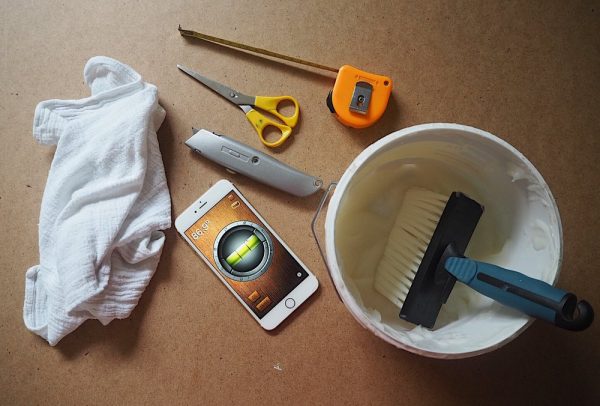
ou absolutely need the following.
Wallpaper – Absolutely as it is what you are going to use mostly in this exercise. It is important to measure out the places you are going to paste your wallpaper in order to enable you to cut out appropriate lengths. Have a look at the several options we have in store for you and purchase one by clicking here also checking the amount of wallpaper you need for this exercise.
Wallpaper paste – Have a wallpaper paste that will help you in pasting wallpaper to your walls as the majority of wallpapers are not self-adhesive and will need one. Purchase a packet of wallpaper paste by clicking here.
Wallpaper application brush – Its advisable you use one with a handle.
A plumbline measuring tool– This is a great asset as it will come handy in giving you correct inclinations as to where to paste your wallpaper on the wall accurately an in correct angles.
Tape measure and pencil- This will be greatly used in calibrations and measurements so as to determine where to cut for correct dimensions pasting.
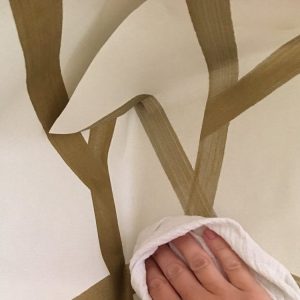
A clean cloth– This will be used for smoothening the wallpaper pasting to remove out bubbles that are bound to occur.
Taking off
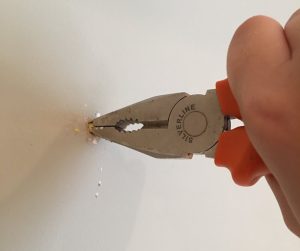
First, lay off the ground by having aa clean surface. Eliminate any objects that might hinder an effective pasting. This might include: pinning on the wall, nails and any other objects. Fill any large holes on the wall and sandpaper it down to the level of the original wall to achieve an even surface so as to avoid cases of bubbles emerging when pasting.
Begin
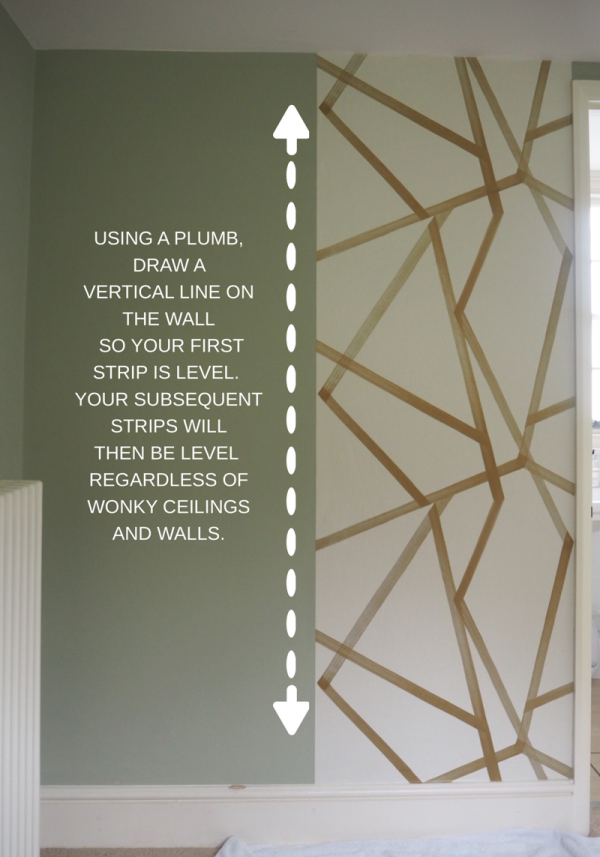
After doing the above, now using pencil now draw a vertical line on the wall measuring using the plumbline measuring tool. This will assist in pasting the wallpaper at the right and upright inclination.
Wallpaper paste application.
Now after doing the above, proceed to mix the wallpaper paste with a sizeable amount of water according to the instructions at the back of the packaging. Using your brush. After measuring the length of the wall to be pasted, cut an equally sized amount of wallpaper and apply your paste to both the wall and wallpaper.
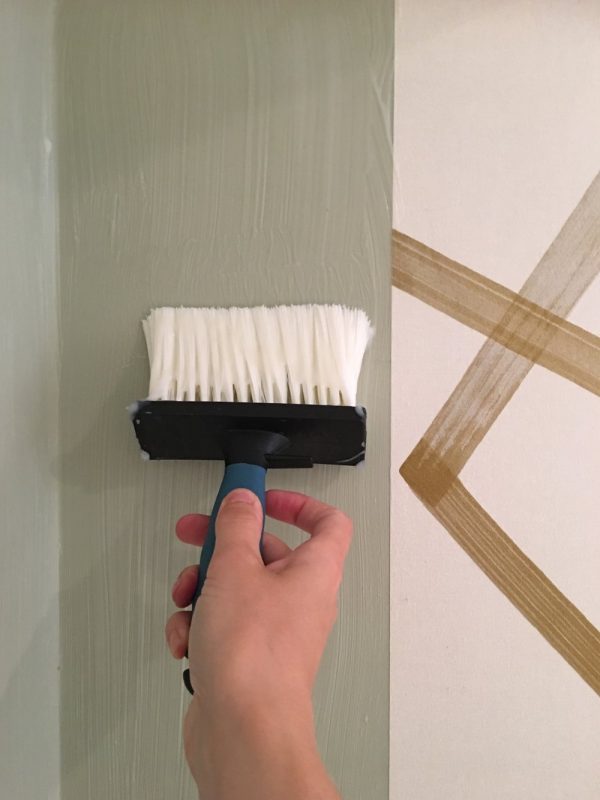
Now apply your wallpaper pasting it from the top of the wall downwards making sure there is an even spread and void of bubbles. Use your piece of cloth to smoothen while you paste to eliminate any instance of bubble appearance.
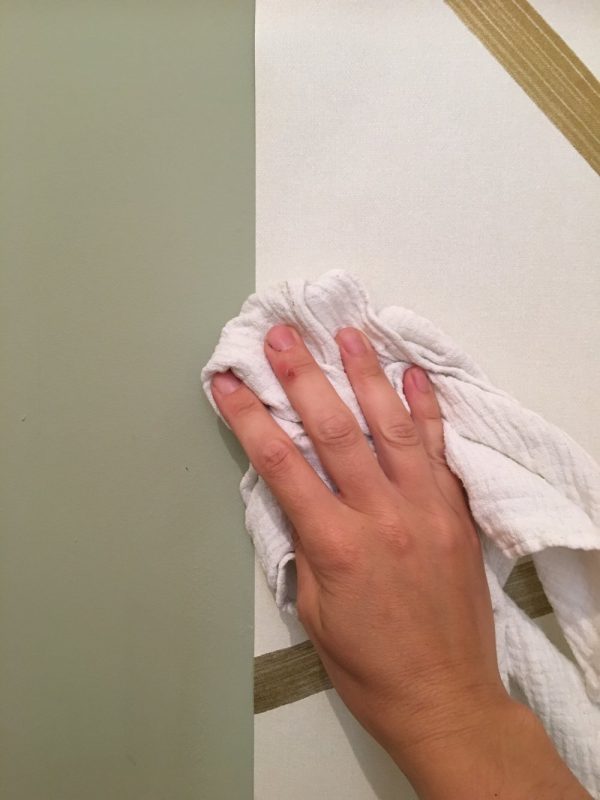
Push the paper as far as it goes up to the ceiling while pressing hard abit at the corner to give it a definite corner mark.

Cutting off the excess
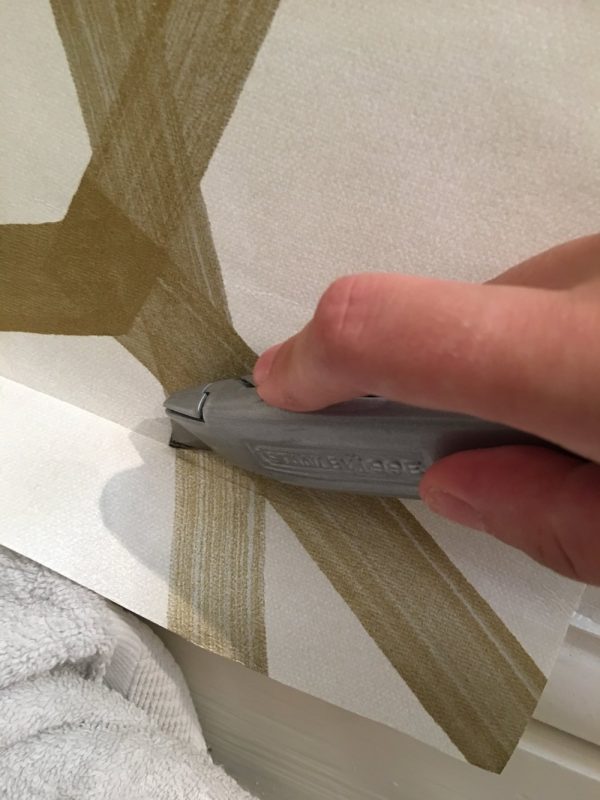
Now use your sharp knife/blade to cut off at the edge where pasting ends
Matching up
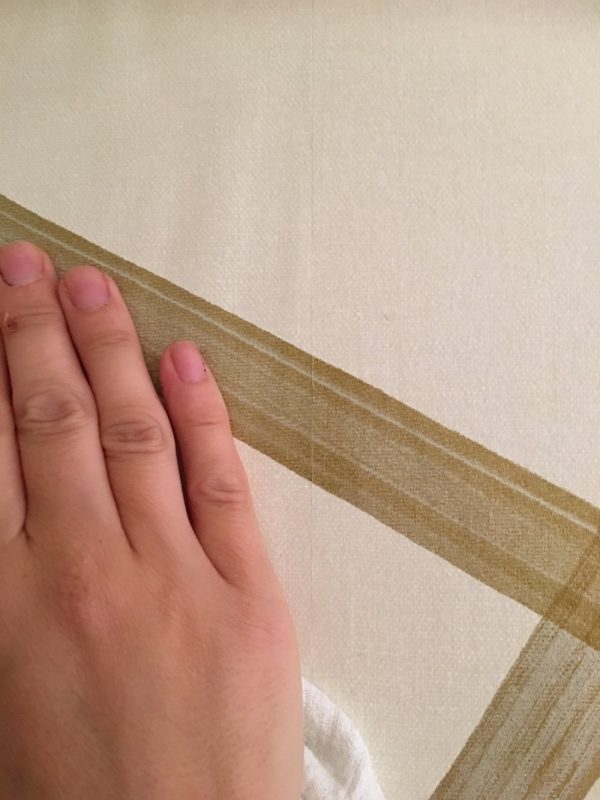
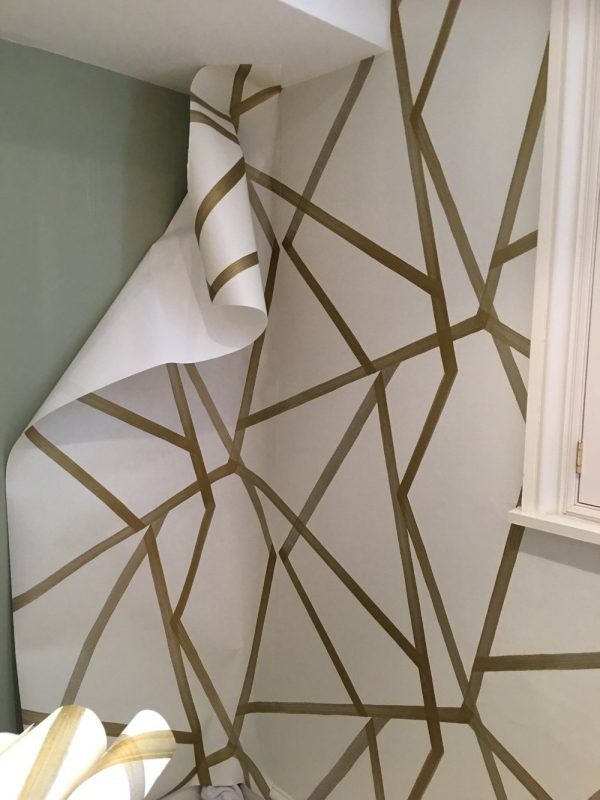
Depending on the type of wallpaper design, match up the pattern of your previous pasting to a new one taking care of symmetrical patterns and designs identical to each other.
How to do the corners
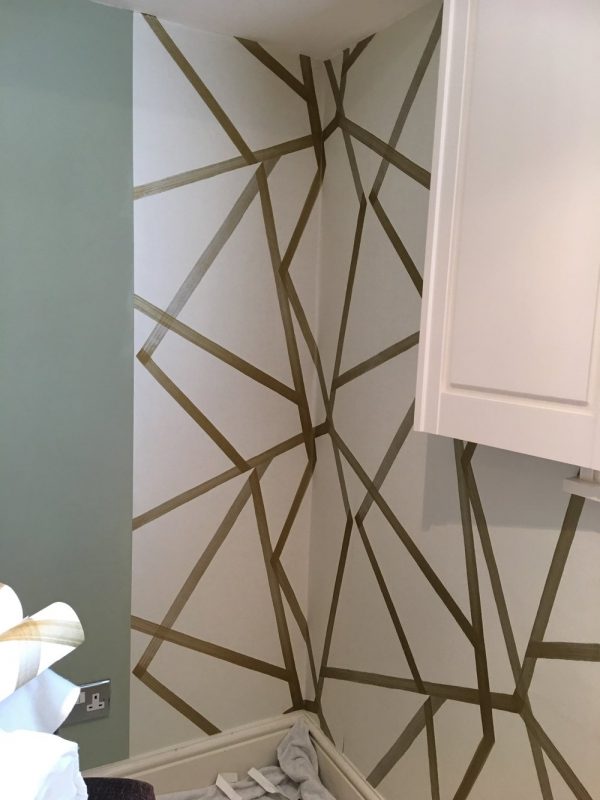
Paste gently at the corners taking care of the edges around it. At a sharp corner, make an incision cut at a corner point of the wallpaper paste to give you an allowance to paste the adjacent parts effectively.
Doing harder areas.
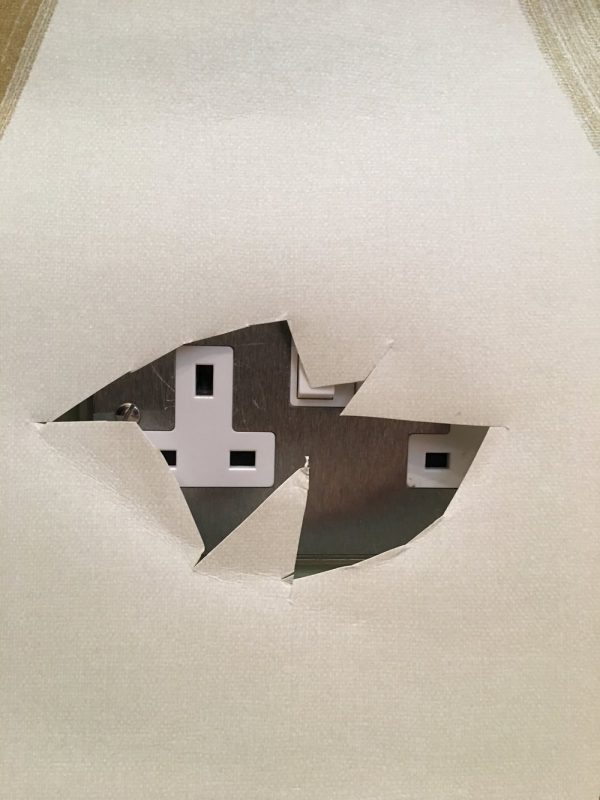
The trick in doing such areas is pressing the wallpaper up to the specific areas then doing a cut out around that object/area.
Common mistakes bound to occur.
Among the possible outcomes that depict an error in wallpaper pasting is the emergence of bubbles. This just signifies that the pasting process was not evenly achieved on the surfaces and eliminating the bubbles is pressing them from their positions to the edges.
Another common occurrence is having flappy, peeling edges. One of the cause of this is that the amount of glue pasted at the points wasn’t enough. Scoop a sizable amount of glue with your fingers and apply roughly at the points while pressing them harder to achieve an even pasting.
We hope this DIY guide has come in handy to help you in self pasting. Incase you need assistance, feel free to hit us up and we will be more than glad to offer you help. Meanwhile comment below on the areas that proved difficult in wallpaper pasting process and we will be glad to know. Thanks

